ArchVision Software consists of 2 main parts, Dashboard and supporting RPC Plugins.
- Dashboard (content manager): It allows you to explore, download and drag & drop the content to the supported platforms.
- The RPC plugin: The component that enables RPC technology and features to be utilized in software platforms such as SketchUp, Rhino, Revit and more.
Setup and Installation
Follow these easy steps to install the ArchVision Software and get the plugin up and running on any supported platform in minutes.
1. Create an account.
An ArchVision Account is REQUIRED to be able to Download and Install the
ArchVision Software. Please visit our website to register and create your account.
2. Download and Install the Dashboard app (Sign in Required).
Download and install the ArchVision Dashboard (content manager) desktop app.
If you want more detailed instructions on how to install the ArchVision Dashboard, follow the full installation .
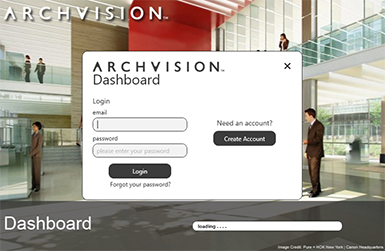
3. Sign in to Dashboard
After the installation is complete, double click in the "ArchVision Dashboard" Icon to
open up the Dashboard window.
Then, sign in to Dashboard using your ArchVision.com Account credentials.
4. Install the software plugin (Automated)
*If you using Autodesk Version 2019 please read step 4.1
After signing into Dashboard, on the Top-Left side of the window under the menu bar you will find the "Plug-ins/Software" button, select the plug-in software you need and click the "Update" button to start the plugin installation.
**Dashboard will automatically scan for any supported software in your system.
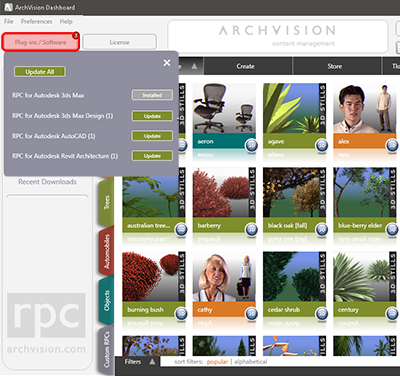
A windows Install dialog will appear, follow the Wizard instructions to complete your plugin installation.
Once the installation is completed successfully, the button tag name will change to "Installed."
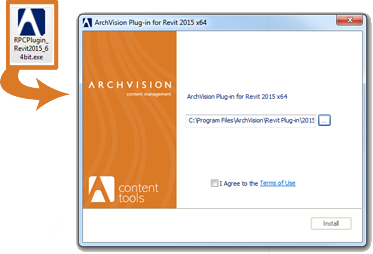
4.1 Install the software plugin 2019 (Manual)
**If you are using Autodesk Version 2019 you will need to manually download
and install the Software Plugin. (Instructions below)
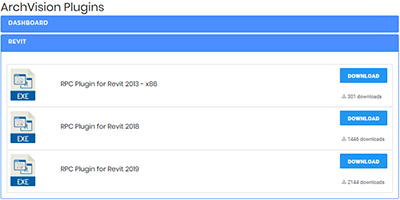
In our website go to the Download section, then under the "ArchVision Plugins"
select the 2019 version software of your preference and click "Download"
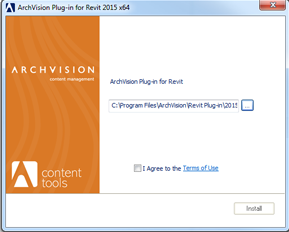
After download, run the Plugin Installer and follow the wizard instructions to
complete your plugin installation.
Hooray!!! You are all set up!!!
Now you can start using ArchVision technology and RPC content to bring life to your Architectural projects.
If you need more detailed instructions on how to start using the ArchVision technology and RPC Content with your projects, please follow the Quick Start Documentation Guide.