Introduction:
It is critical to completely remove ArchVision Dashboard and all RPC plugins before installing the latest ArchVision RPC plugins and AVAIL. You have two options to uninstall our products:
1. ArchVision Cleaner Tool
In many cases, our users have multiple RPC plugins installed on multiple machines. To save you time we have made a cleaner tool to speed up the uninstall process. You can download the cleaner tool from here.
Step 1: Unzip CleanerTool.zip
Simply choose a place to extract the Zip file and extract the contents of the archive. The contents will unzip to a new folder named CleanerTool.
WARNING: Our Cleaner Tool will automatically close all necessary applications and uninstall all ArchVision Software. You should close all applications prior to running the Cleaner Tool.
Step 2: Run CleanerTool.exe
In the CleanerTool folder, you can double-click CleanerTool.exe to start the Cleaner Tool.
(note: if you don't get the ArchVision uninstall dialog, then you may need to add the CleanerTool.exe to your antivirus exceptions or temporarily pause your antivirus for the tool to run)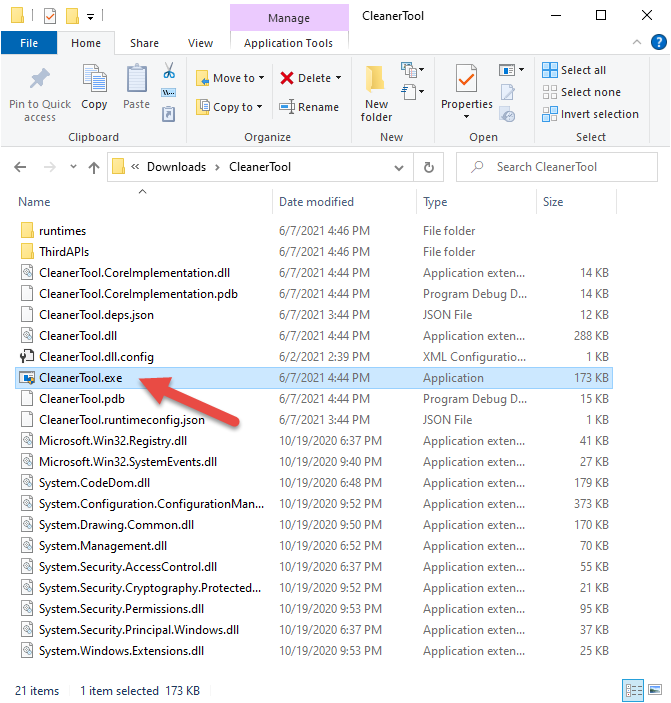
Step 3: Uninstall
Select Uninstall from the splash screen.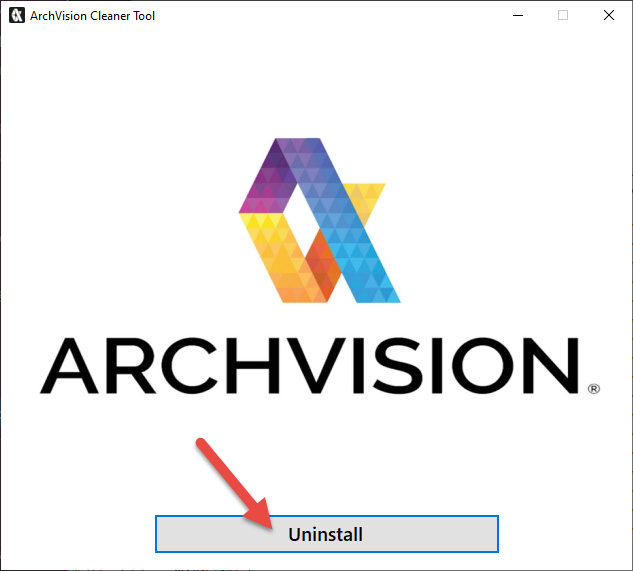
Step 4: Uninstall All ArchVision Software
Select Uninstall All and all applications will be uninstalled.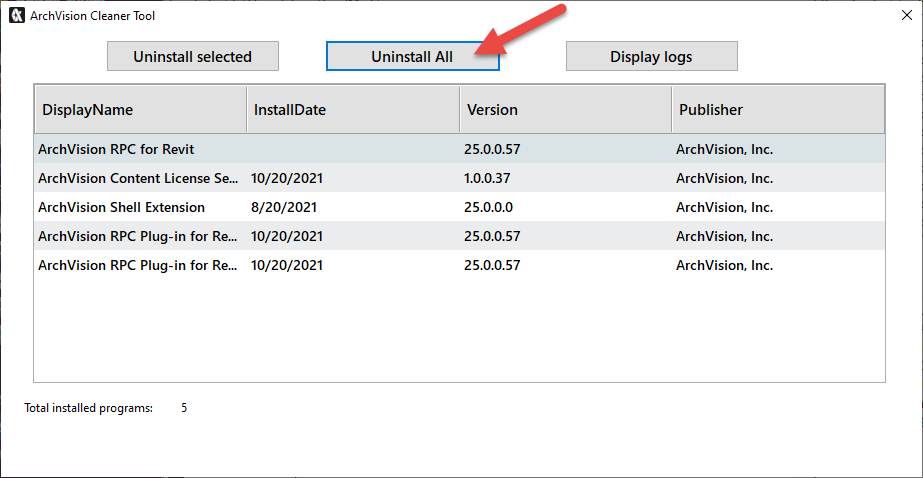
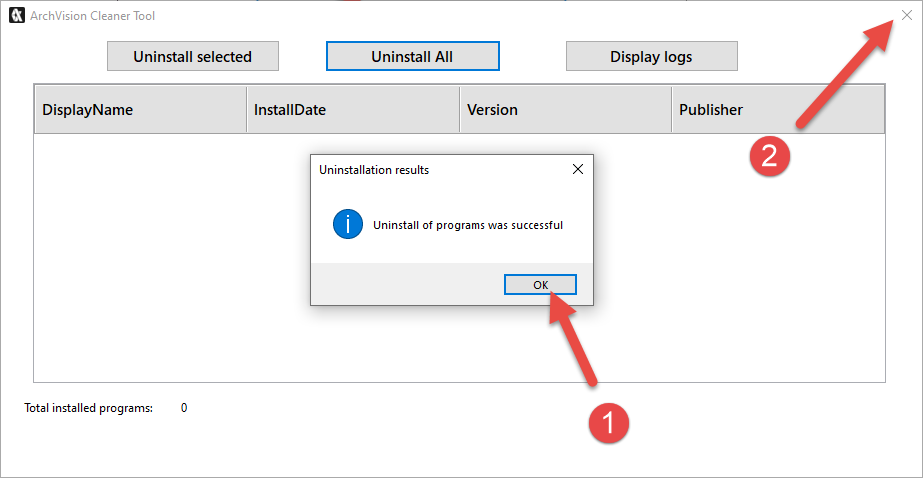
Step 4: Close the Cleaner Tool
Select OK from the Uninstallation Results window and close the Cleaner Tool by clicking the X in the top right corner of the window.
Please email support@archvision.com if you need further assistance.
2. Manual Uninstall Process
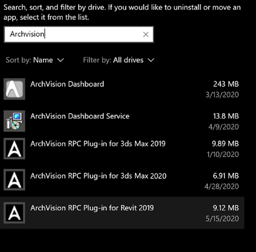
Step 1: Uninstall ArchVision Dashboard and ALL RPC Plugins
To do this, open the windows menu and type Add or Remove programs, click on the Add/Remove programs, In the Search box Type “Archvision” to filter all the ArchVision Software installed in your system, choose the program you want to uninstall and click on the Uninstall button, Next follow the uninstallation wizard. This will remove the program.
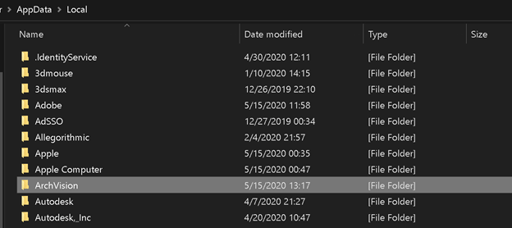
Step 2: Delete the remaining files and folders
Some fragments of the file may be left in a few of the system folders. To remove them, you’ll need to check the program files and app data. Check the following folders for leftovers.
- %programfiles%
- %localappdata%
And Remove Any ArchVision Folder left.
Just type the above text one at a time in the search box and press enter. This will open the folders directly. If you find any folder with the name of the program you just uninstalled, delete it.
Step 3: (OPTIONAL) Remove software keys from the Windows Registry
You will need to be very careful when performing this procedure. When you uninstall a software program, in most cases, the uninstaller does not remove the program from the Windows Registry.
This increases the Windows Registry size. To completely remove the software, you need to remove its key from the Windows Registry. Follow the steps below to remove the program keys.
- Open the Start menu, type Regedit in the search box, and press ENTER. It will launch the Registry Editor.
- Look for the following key:
- HKEY_LOCAL_MACHINE/SOFTWARE/ArchVision/Bacon
- HKEY_LOCAL_MACHINE/SOFTWARE/ArchVision/RPCShellExtension
- Look for a key with the name of the program (click each folder to reveal the data) and delete that key/folder.
Step 4: Empty Temp Folder
The final step is to clean the Temp folder. This is the folder that contains all the temporary files and cleaning it is safe. To empty the folder, open the Start menu and type the following commands one by one:
- %temp%
- temp
This will open the Temp folders. You can now empty them. If the system displays an error message when deleting some files, leave them. The files might be in use by Windows services or some running software
Please email support@archvision.com if you need further assistance.