This quick guide will walk you through the basic steps to start using RPC plugin and content with Autodesk Revit Software.
***Make sure you have installed the required software and plugins. For more information please visit the "Getting Started with ArchVision" documentation.
- Access the RPC Content Manager "AVAIL"
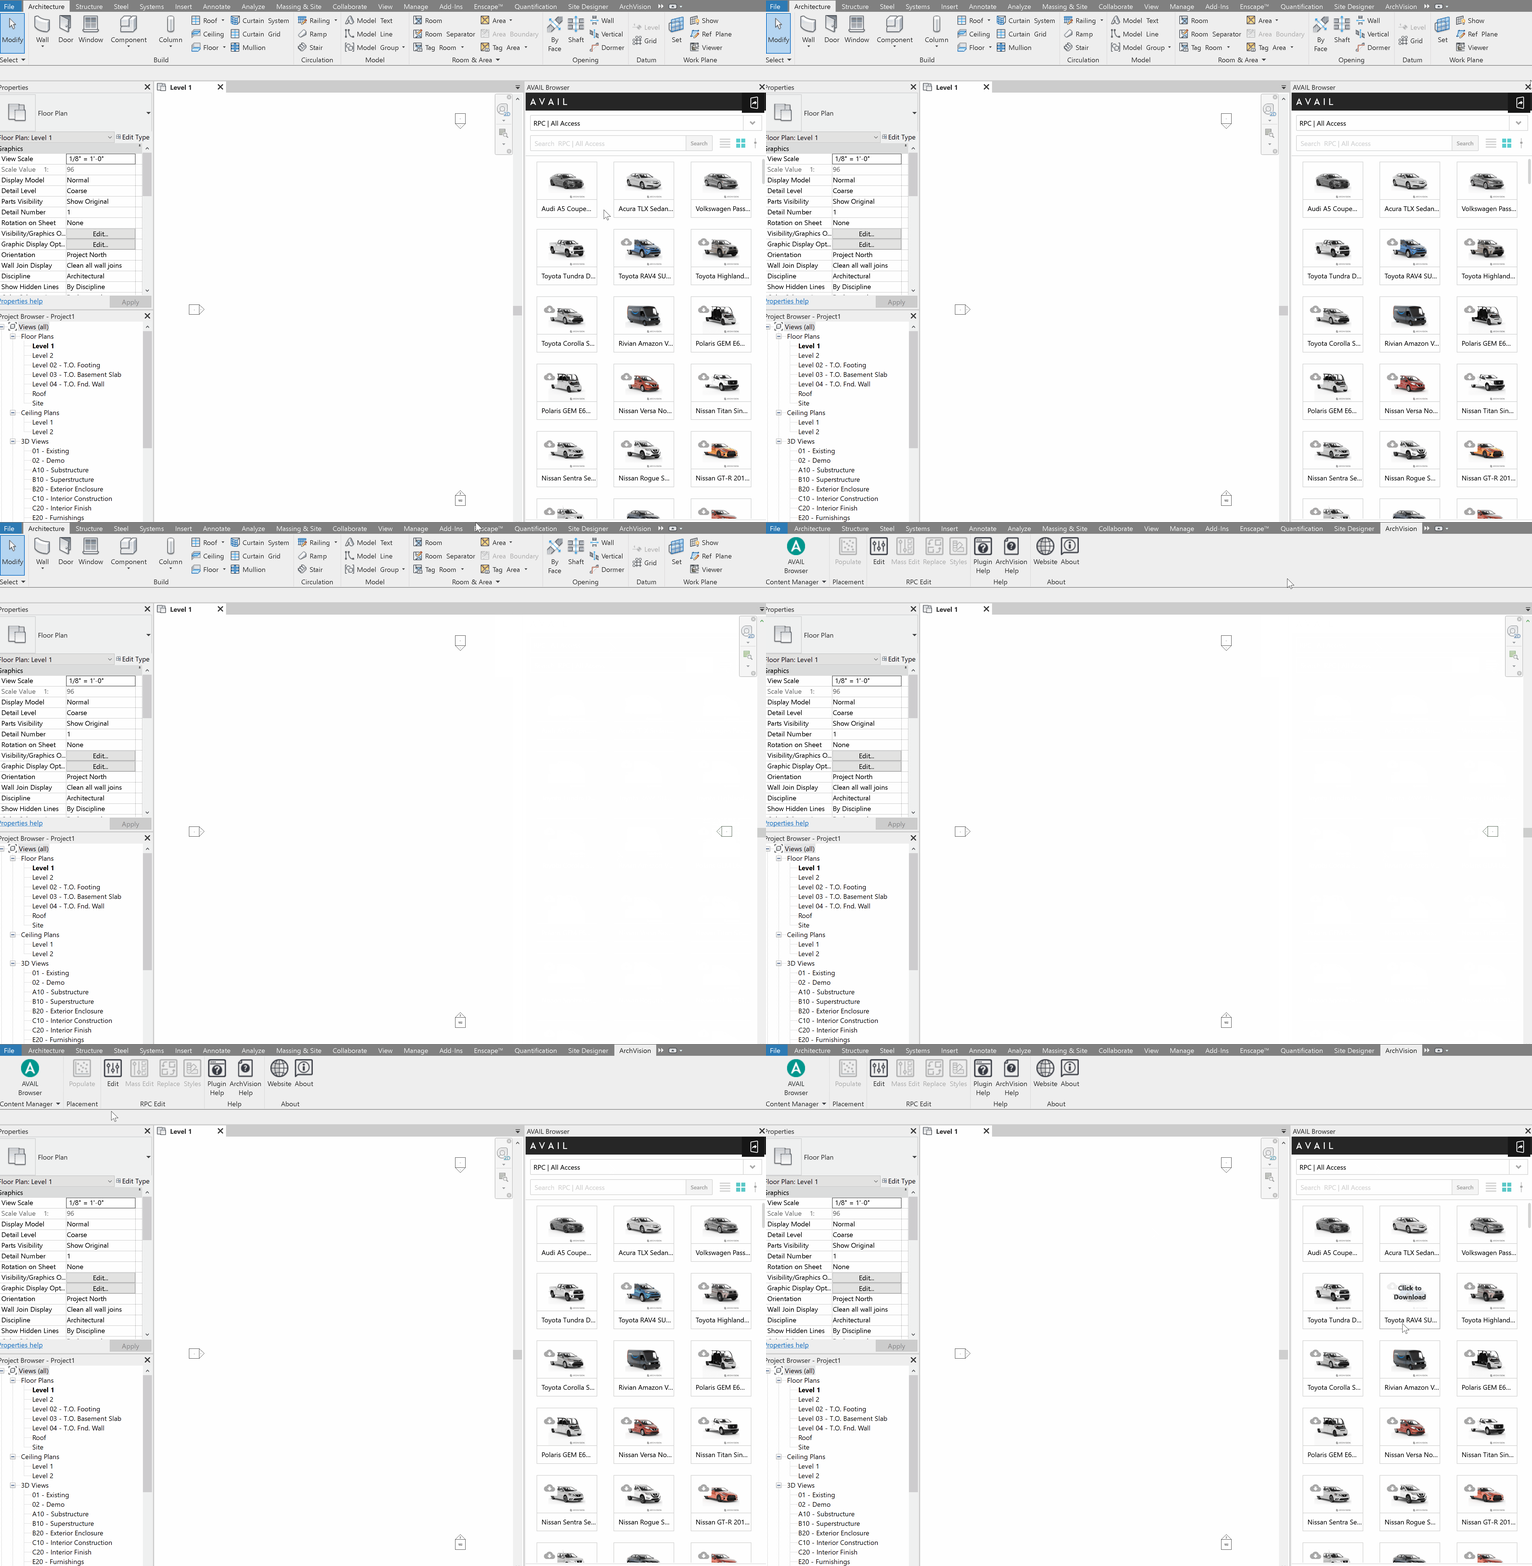
To access all the RPC content, open the "AVAIL Browser for Revit".
The AVAIL Browser for Revit should be displayed automatically on the right side of your Revit Session if the AVAIL Brower is not visible you can manually open it by going to the "ArchVision Tab" in the Revit Ribbon then Click on the AVAIL icon located on the left side of the tools.
- Explore and Download the RPC Content
In the AVAIL Browser for Revit, Select the Channel you subscribed to (by default RPC | All Access ).
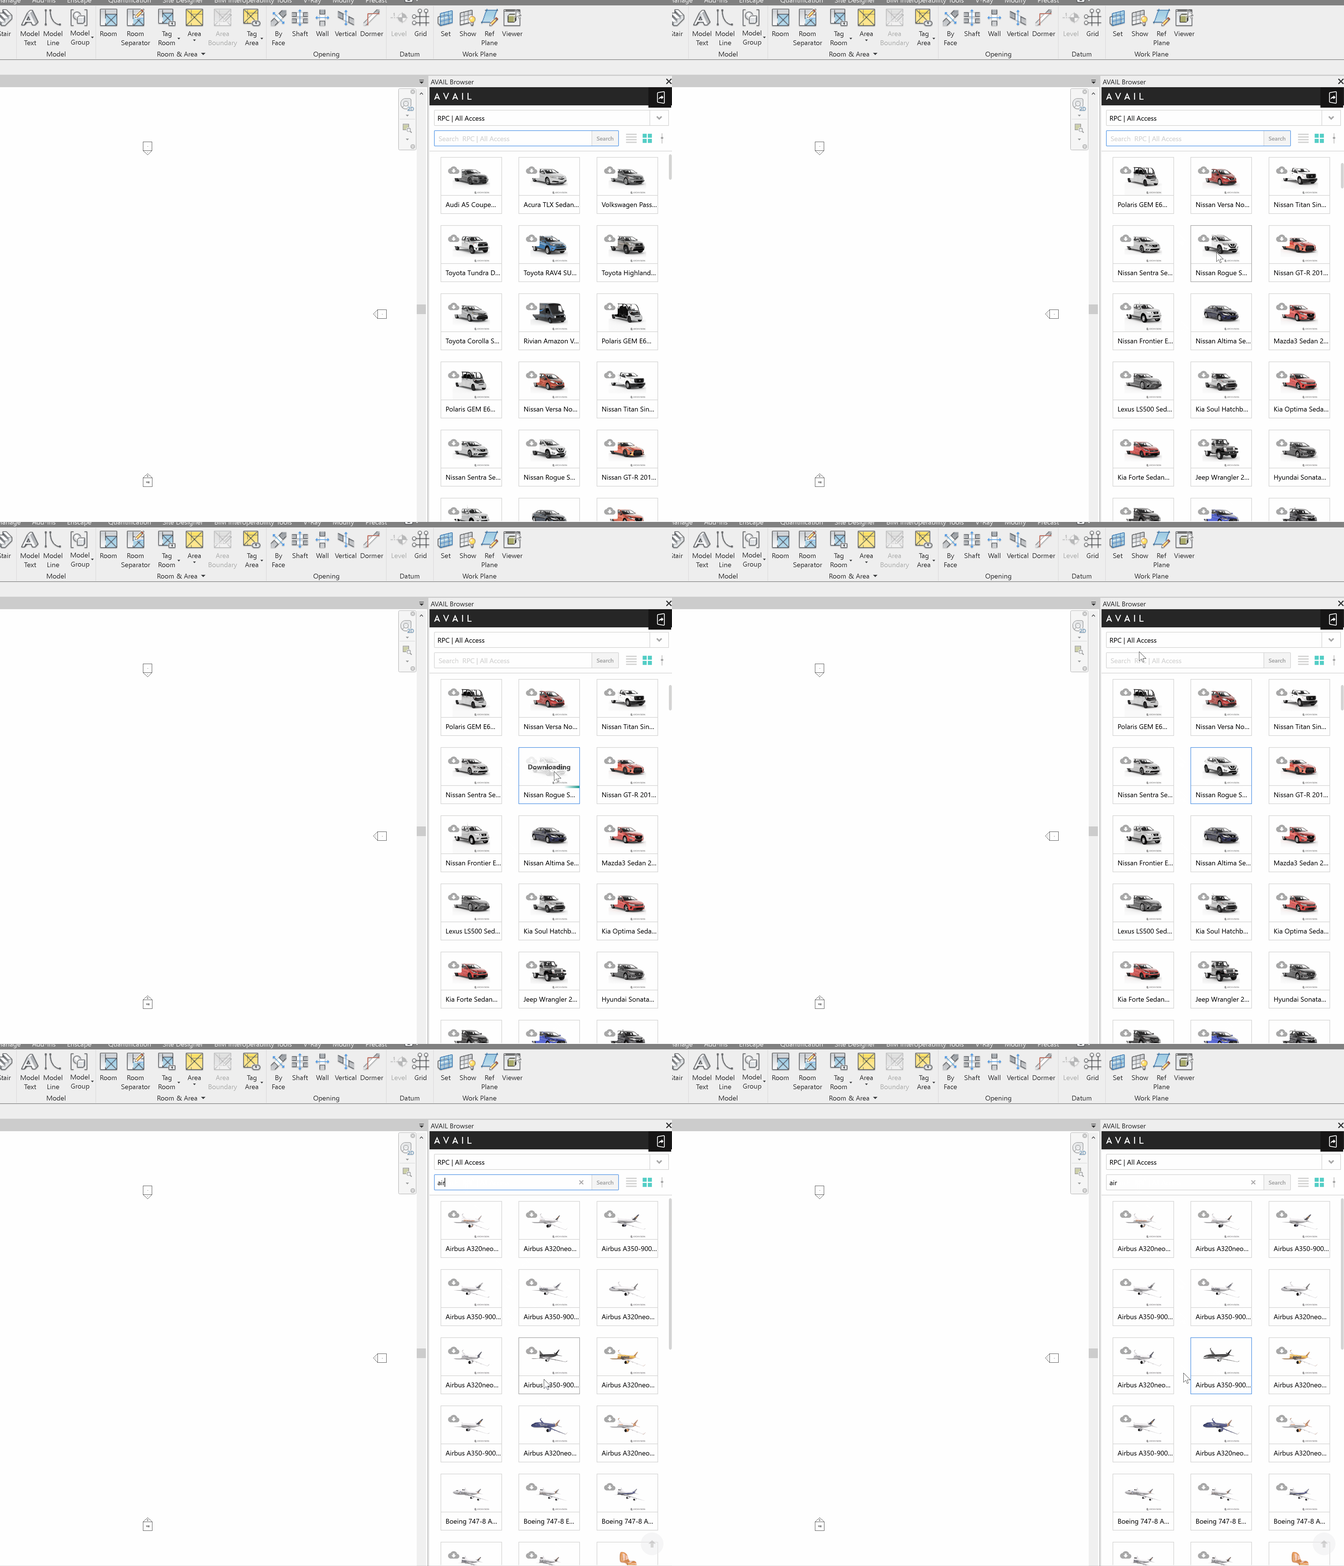
You can scroll down through all the content, or use the search box and type-specific words to filter the content, and select the content you want to download, next click on the "click to download" button to start downloading the asset.
Once the download is completed you can add the RPC content to your project.
-
Add the RPC Content to your Project (Drag and Drop)
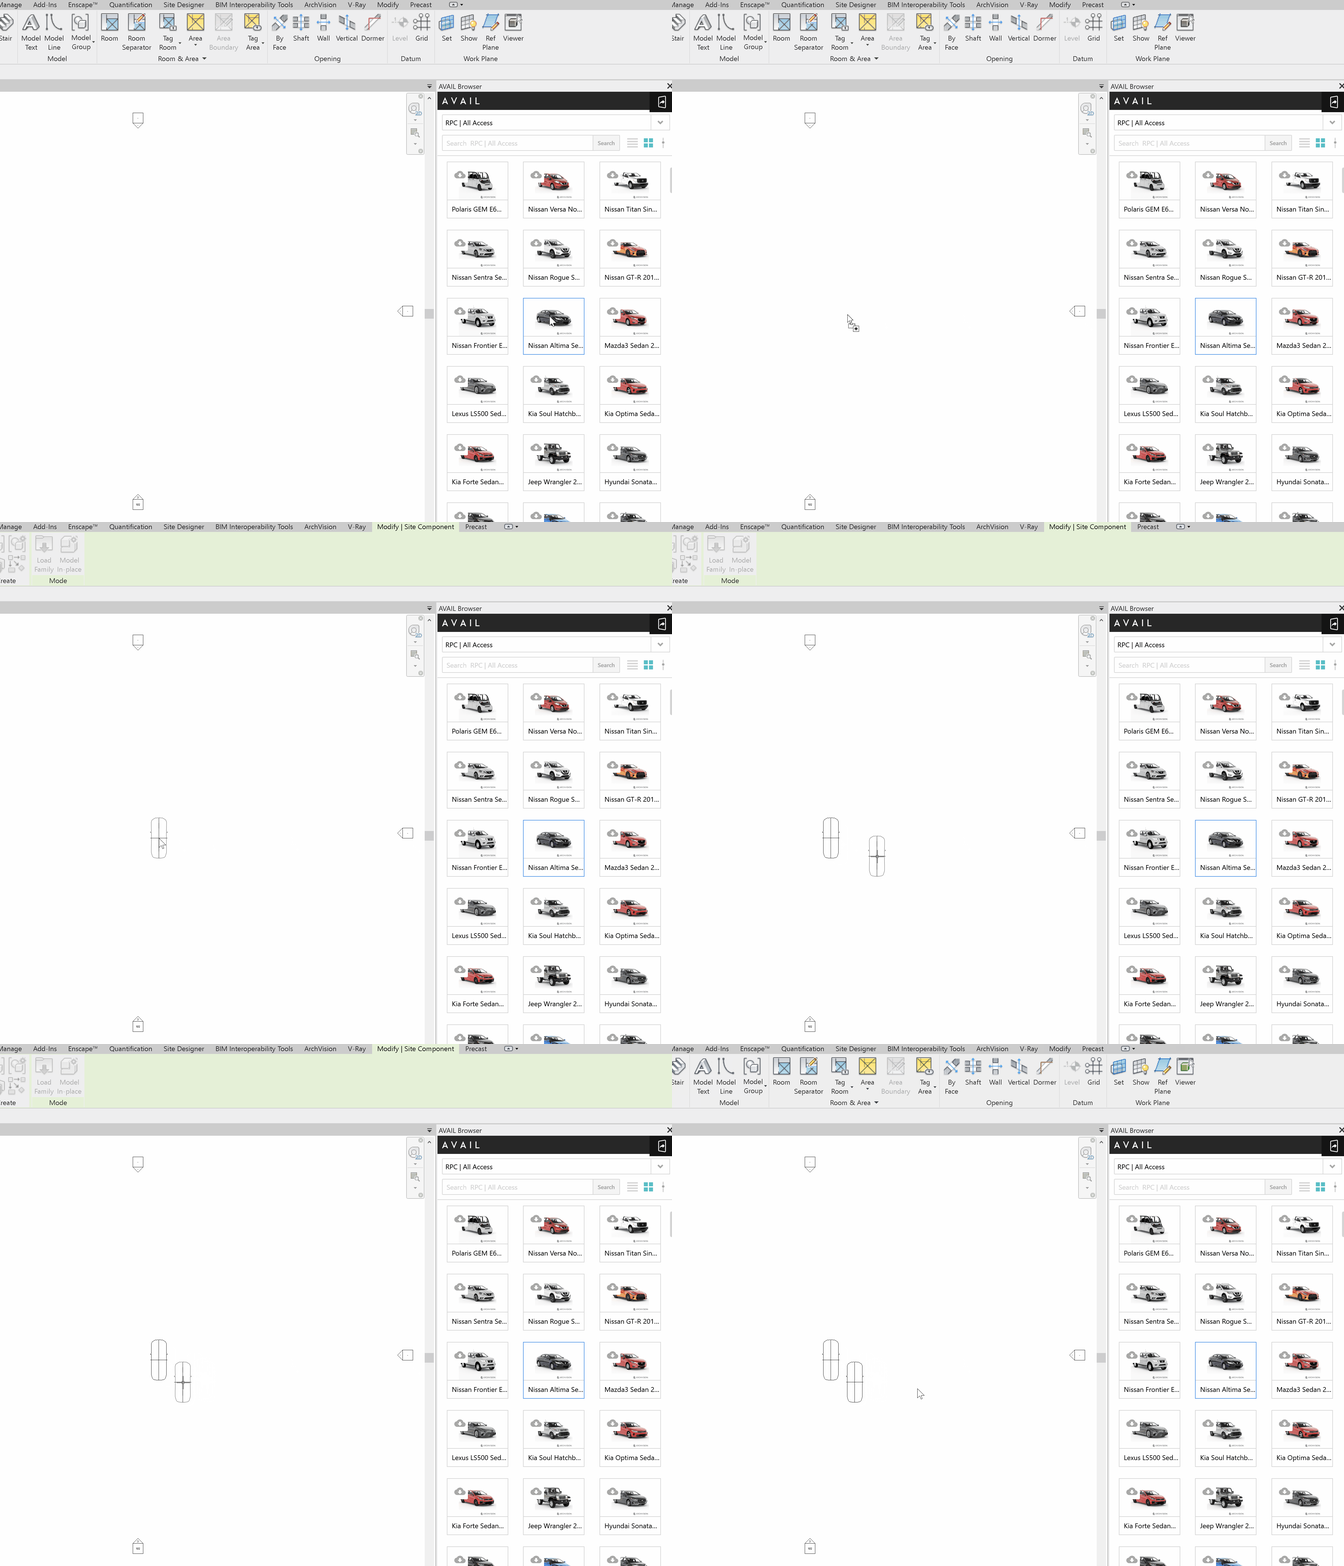
To add the downloaded RPC content to your project, click over the downloaded RPC THUMBNAIL and the drag & drop it into your project. (Drag & drop only works in plan view or 3D view). The Revit spinning wheel will appear for a few seconds then place the RPC Asset into your Project by clicking on the canvas space in the desired position.
To exit from placement mode press the "ESCAPE" key twice.
Hurray!!! Your RPC asset is now available in your project and ready to render.
